How to Replace Faulty Capacitors in CRT TVs.
Introduction
Faulty Capacitors in CRT TVs, though considered old technology, are still used in many households. One of the most common reasons for their malfunction is faulty capacitors in CRT TVs. In this guide, we will walk you through the process of identifying and replacing bad capacitors in Faulty Capacitors in CRT TVs.

Signs of Faulty Capacitors in CRT TVs
Identifying bad capacitors is the first step in fixing your CRT TV. Look for the following symptoms:
- TV not turning on
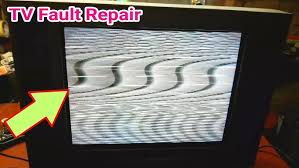
- Distorted or flickering display
- Unusual buzzing or whining noise
- Power cycling (TV turns on and off repeatedly)
- Blurry or faded images
- Burnt smell coming from the TV
Faulty Capacitors in CRT TVs – Tools and Equipment Required
Before you begin, gather the necessary tools:
- Screwdrivers (Phillips and flat-head)
- Soldering iron and solder
- Desoldering pump or braid
- Replacement capacitors (same voltage and capacitance ratings)
- Safety gloves and goggles
- Multimeter (for testing components)
Step-by-Step Guide to Replacing Faulty Capacitors in CRT TVs
1. Unplug the TV and Discharge the CRT
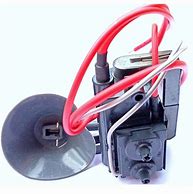
Safety first! Unplug the CRT TV and discharge any stored voltage in the CRT tube. Use an insulated screwdriver to safely discharge the anode cap.
2. Open the TV Casing
Use a screwdriver to carefully remove the screws holding the back cover. Lift the cover and set it aside.
3. Locate the Faulty Capacitors
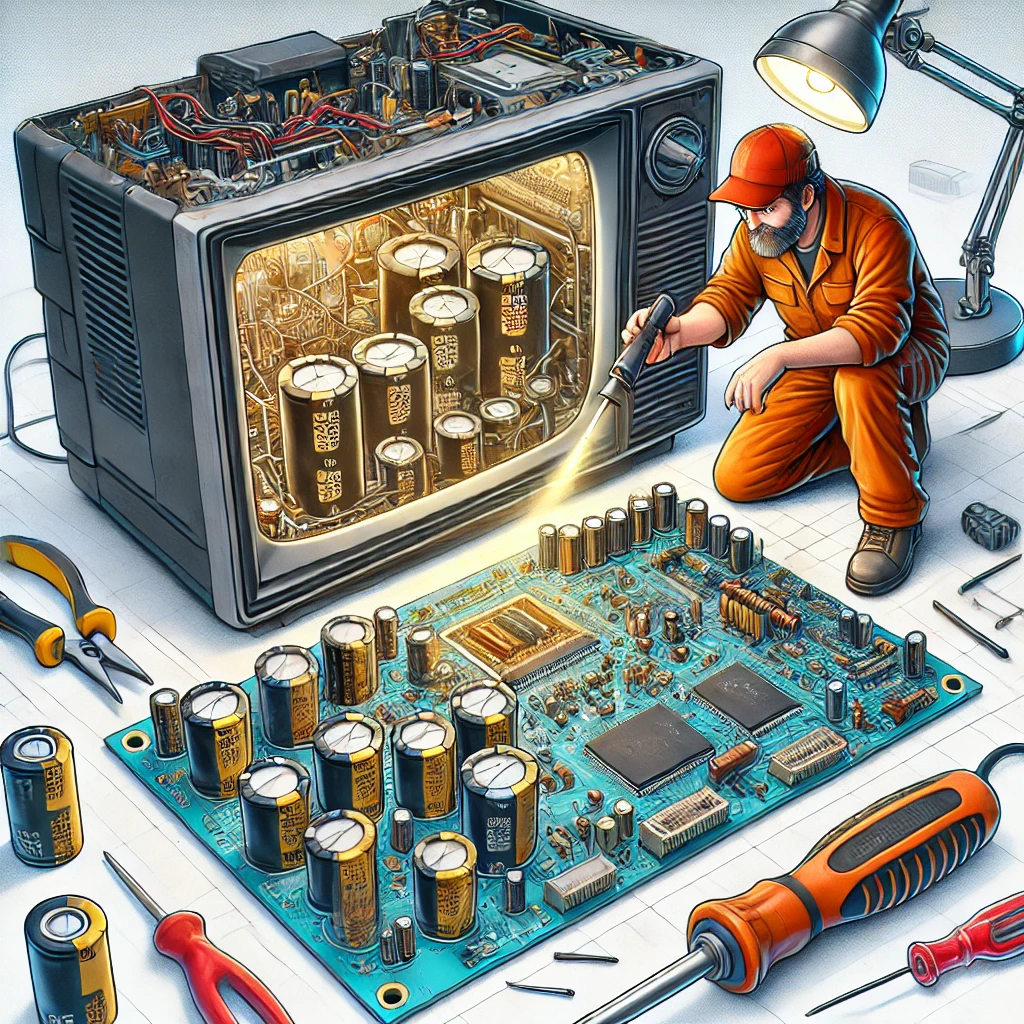
Inspect the circuit board for any capacitors that show signs of damage such as:
- Bulging or swollen tops
- Leaking electrolyte
- Burnt or darkened areas around them
4. Test the Capacitors with a Multimeter
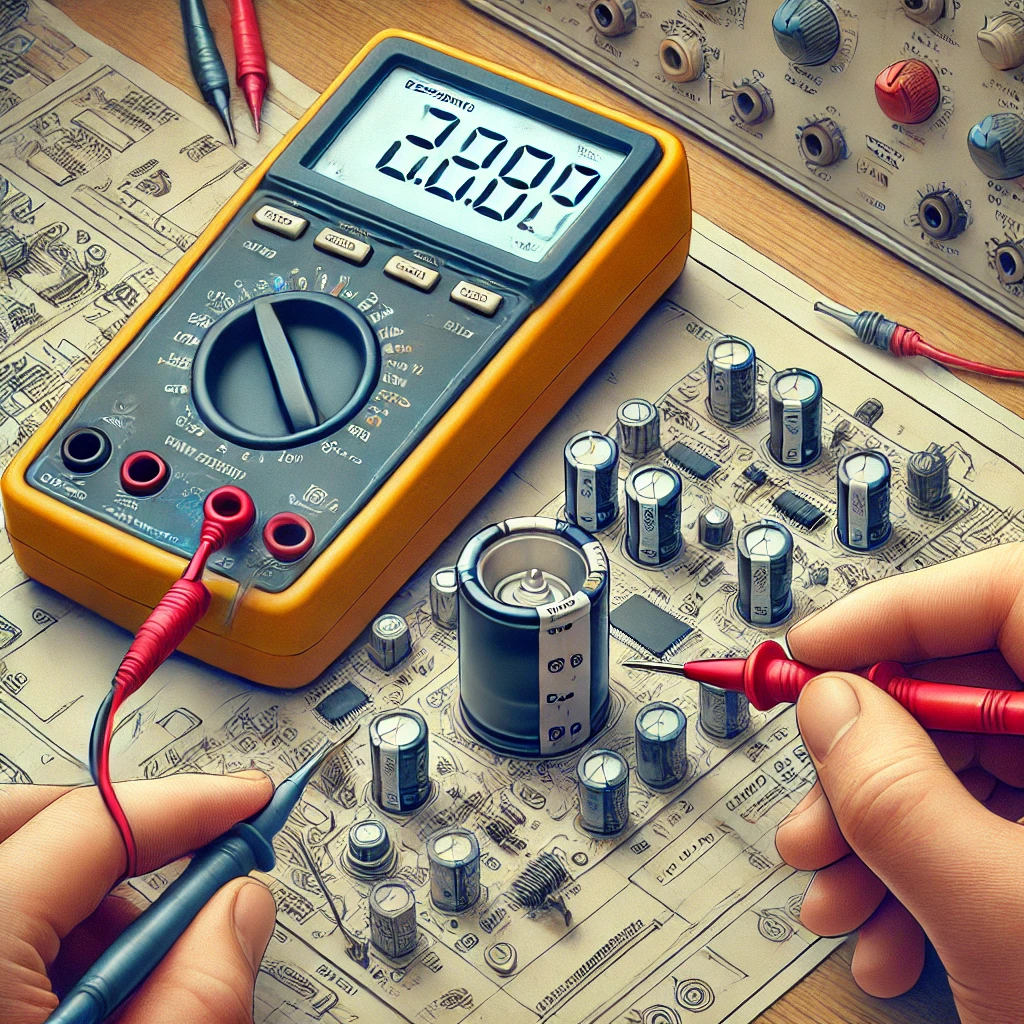
To confirm if a capacitor is faulty, follow these steps using a multimeter:
- Set the Multimeter – Turn the dial to the capacitance measurement mode (symbol: “–|(–”). If your multimeter does not have this, use the resistance mode (Ω).
- Discharge the Capacitor – If the capacitor is still in the circuit, discharge it by placing a resistor (1kΩ to 10kΩ) across the terminals.
- Remove the Capacitor (Optional) – For accurate readings, desolder the capacitor from the circuit board.
- Connect the Multimeter Leads – Attach the black probe to the negative terminal and the red probe to the positive terminal.
- Check the Reading:
- If using capacitance mode, the displayed value should be close to the capacitor’s rated capacitance. A significantly lower value indicates a faulty capacitor.
- If using resistance mode, the resistance should initially be low and increase gradually. If the reading stays at zero or infinity, the capacitor is bad.
5. Remove the Faulty Capacitors

- Heat the solder joints using a soldering iron.
- Use a desoldering pump or braid to remove the solder.
- Gently pull out the faulty capacitor.
6. Install the New Capacitors
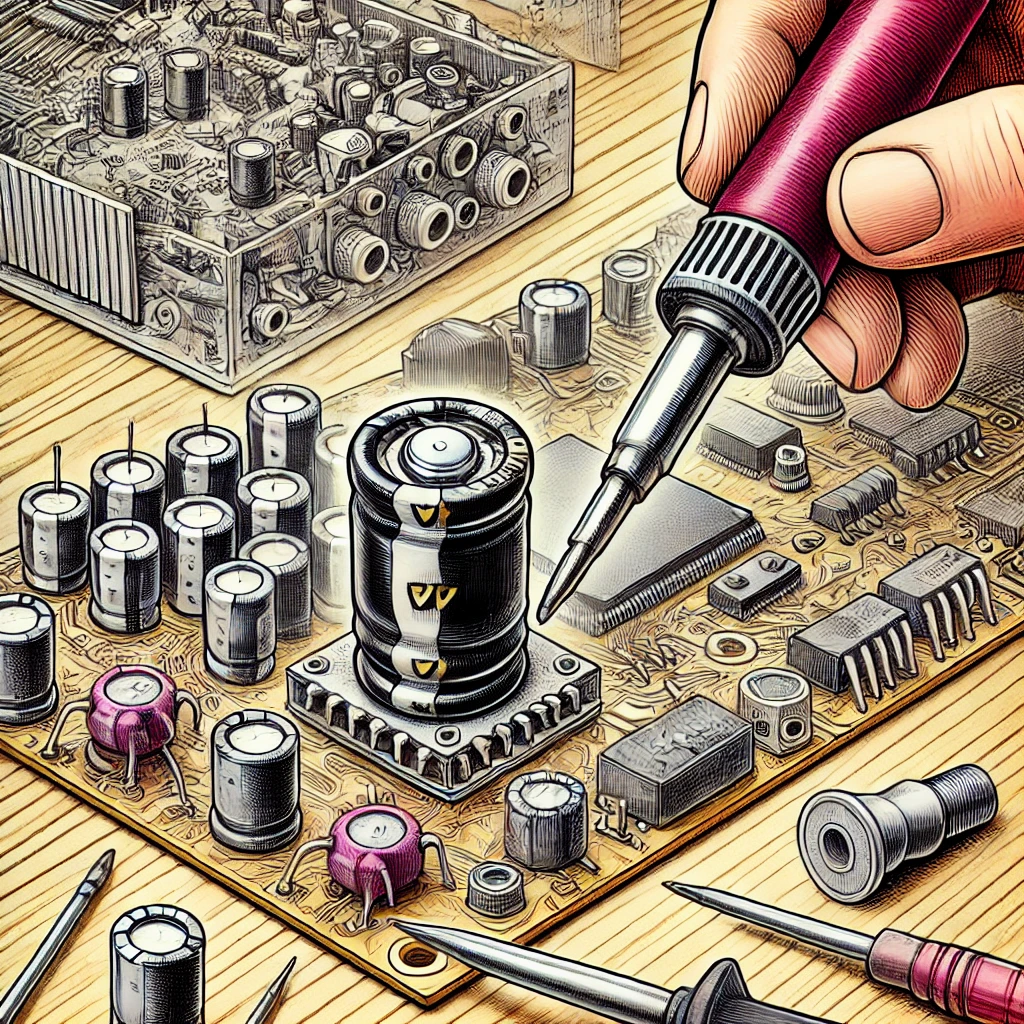
- Insert the new capacitor, ensuring correct polarity (+ and – alignments).
- Solder the leads securely.
- Trim any excess leads with wire cutters.
7. Reassemble the TV
- Double-check your work to ensure all components are securely in place.
- Reattach the back cover and tighten the screws.
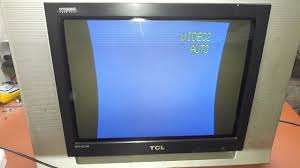
8. Test the TV
- Plug in the TV and turn it on.
- Check if the issue is resolved and the display functions properly.
Precautions and Safety Tips
- Always discharge the CRT before working on it.
- Wear protective gear to prevent shocks.
- Avoid touching high-voltage components inside the TV.
- Use only capacitors with the correct ratings.
Conclusion
Replacing Faulty Capacitors in CRT TVs is a straightforward task if you follow the right steps and take necessary precautions. By diagnosing and fixing the issue yourself, you can extend the life of your TV and save repair costs. If you’re unsure about any step, seek professional help.
For more detailed guidance, check out these external resources:
Do you have experience repairing CRT TVs? Share your thoughts in the comments below!
Replacing Faulty Capacitors in CRT TVs is a straightforward task if you follow the right steps and take necessary precautions. By diagnosing and fixing the issue yourself, you can extend the life of your TV and save repair costs. If you’re unsure about any step, seek professional help.
Do you have experience repairing CRT TVs? Share your thoughts in the comments below!
Internal post’s link :
- how to repair power supply crt tv’s
- how to repair sound fault in crt tv’s
- how to repair no picture or black screen crt tv’s
- fix low or distorted audio in crt tvs guide
- CRT TV Microcontroller and EEPROM Repair Guide
External links :
Related Post’s
CRT TV Screen Shrinking and Expanding – How to Fix
CRT TV Screen Shrinking and Expanding – How to Fix IntrIntroduction Is your CRT TV…
CRT TV Distorted Picture? Ultimate Troubleshooting Guide for Quick Fixes!
CRT TV Distorted Picture? Ultimate Troubleshooting Guide for Quick Fixes! CRT TV Distorted Picture? Ultimate…

CRT TV Color Issues: Fixing Red, Green, Blue Problems
CRT TV Color Issues: Fixing Red, Green, Blue Problems CRT TV Color Issues: Fixing Red,…
![7-Step Guide to Fix CRT TV No Display or Black Screen [Solve Now]](https://tamiltechnicians.com/wp-content/uploads/2025/03/crt-tv-no-display.jpg)
How to Fix CRT TV No Display or Black Screen Issues
How to Fix CRT TV No Display or Black Screen Issues. Introduction CRT TVs are…
CRT TV Vertical Deflection Problems & Fixes
CRT TV Vertical Deflection Problems & Fixes introduction : CRT TV Vertical Deflection Problems &…
Troubleshooting Horizontal Deflection Issues
🛠️ Troubleshooting Horizontal Deflection Issues 📌 Introduction Horizontal deflection issues in CRT TVs and monitors…
How to Test a CRT TV Flyback Transformer
🛠️ How to Test a CRT TV Flyback Transformer – Step-by-Step Guide 🔹 Introduction Test…

Pingback: Fix Low or Distorted Audio in CRT TVs – 7 ultimate Solutions