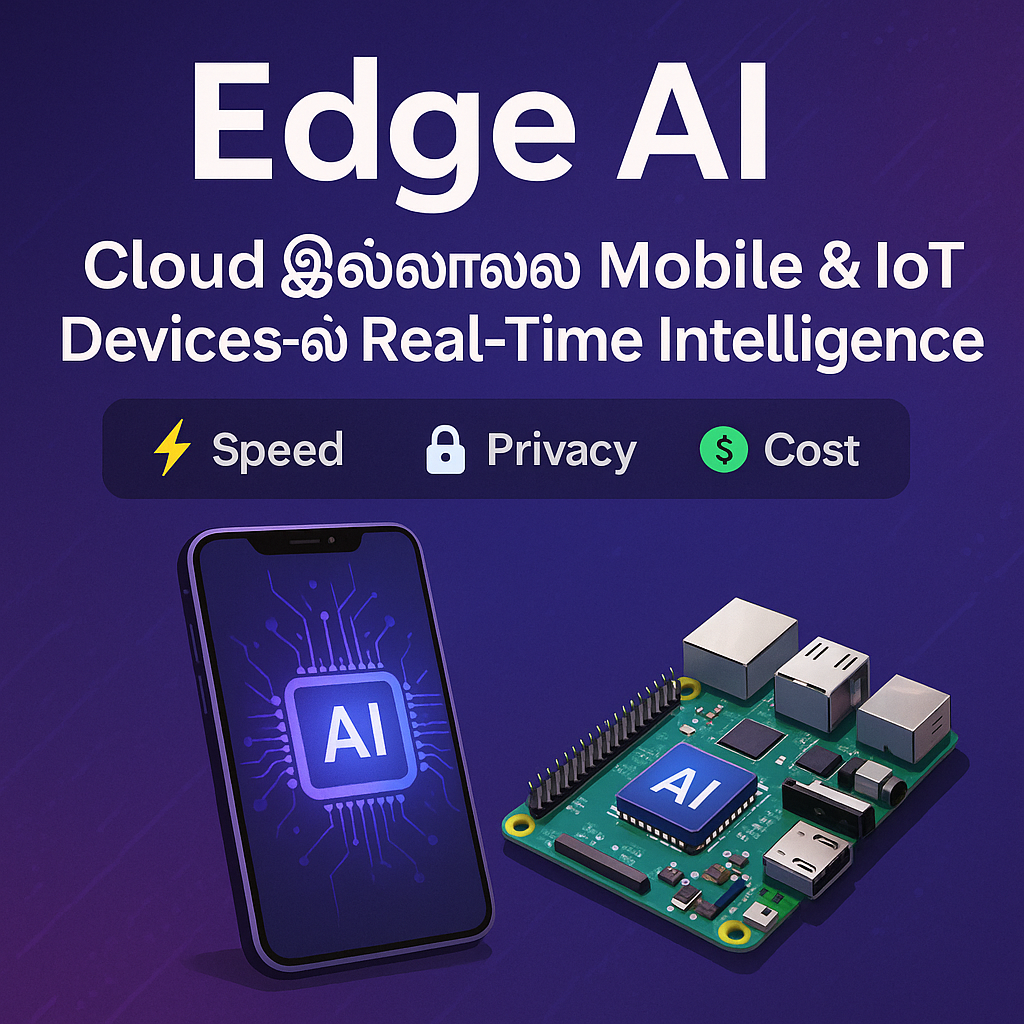
Edge AI: Cloud இல்லாமல் Mobile & IoT Devices‑ல் Real‑Time Intelligence
Speed ⚡ | Privacy 🔒 | Cost 💸 — developers‑க்கு hands‑on code samples உடன் complete guide.
Table of Contents
Edge AI என்றால்?
Cloud server-க்கு request அனுப்பாமலேயே, அந்த device (mobile/IoT board) உடனே ML model inference ஓடுவது தான் Edge AI. இதனால் latency குறையும், internet இல்லாத சமயத்திலும் வேலை நடக்கும்.
Cloud என்ன நல்லது?
- Heavy models (multi‑GB) & frequent updates
- Centralized logging/monitoring
- Compute elasticity (autoscale)
Edge எப்போது மேல்?
- Ultra‑low latency UI (AR, camera filters)
- Privacy critical data (health, mic, camera)
- Offline/poor network environments
- Cloud cost optimization
⚡ Speed
Round‑trip இல்லாததால் UI snappy. Camera/voice apps-க்கு ideal.
🔒 Privacy
Raw data device-ஐ விட்டு வெளியே போகாமல் local‑ஆ process.
💸 Cost
Per‑request cloud inference bill குறையும். Scale‑இல் huge savings.
🌐 Offline
Flights, rural areas — எங்கிலும் consistent UX.
Use Cases (Mobile & IoT)
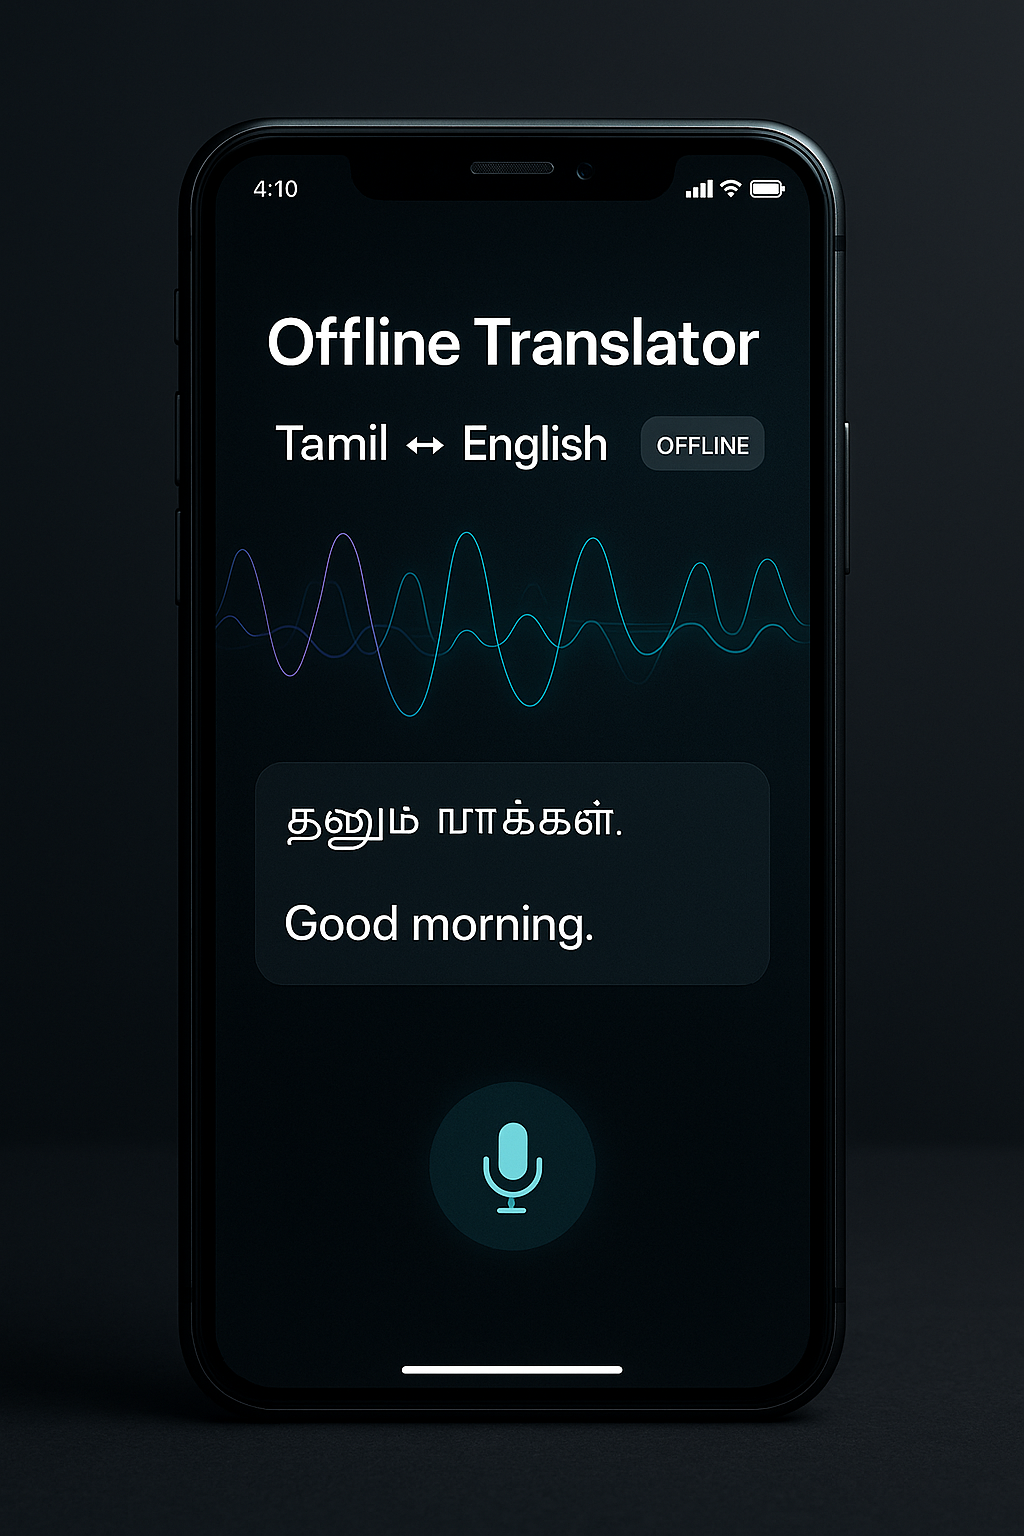
Offline Translator
Speech‑to‑text + on‑device translation + TTS.
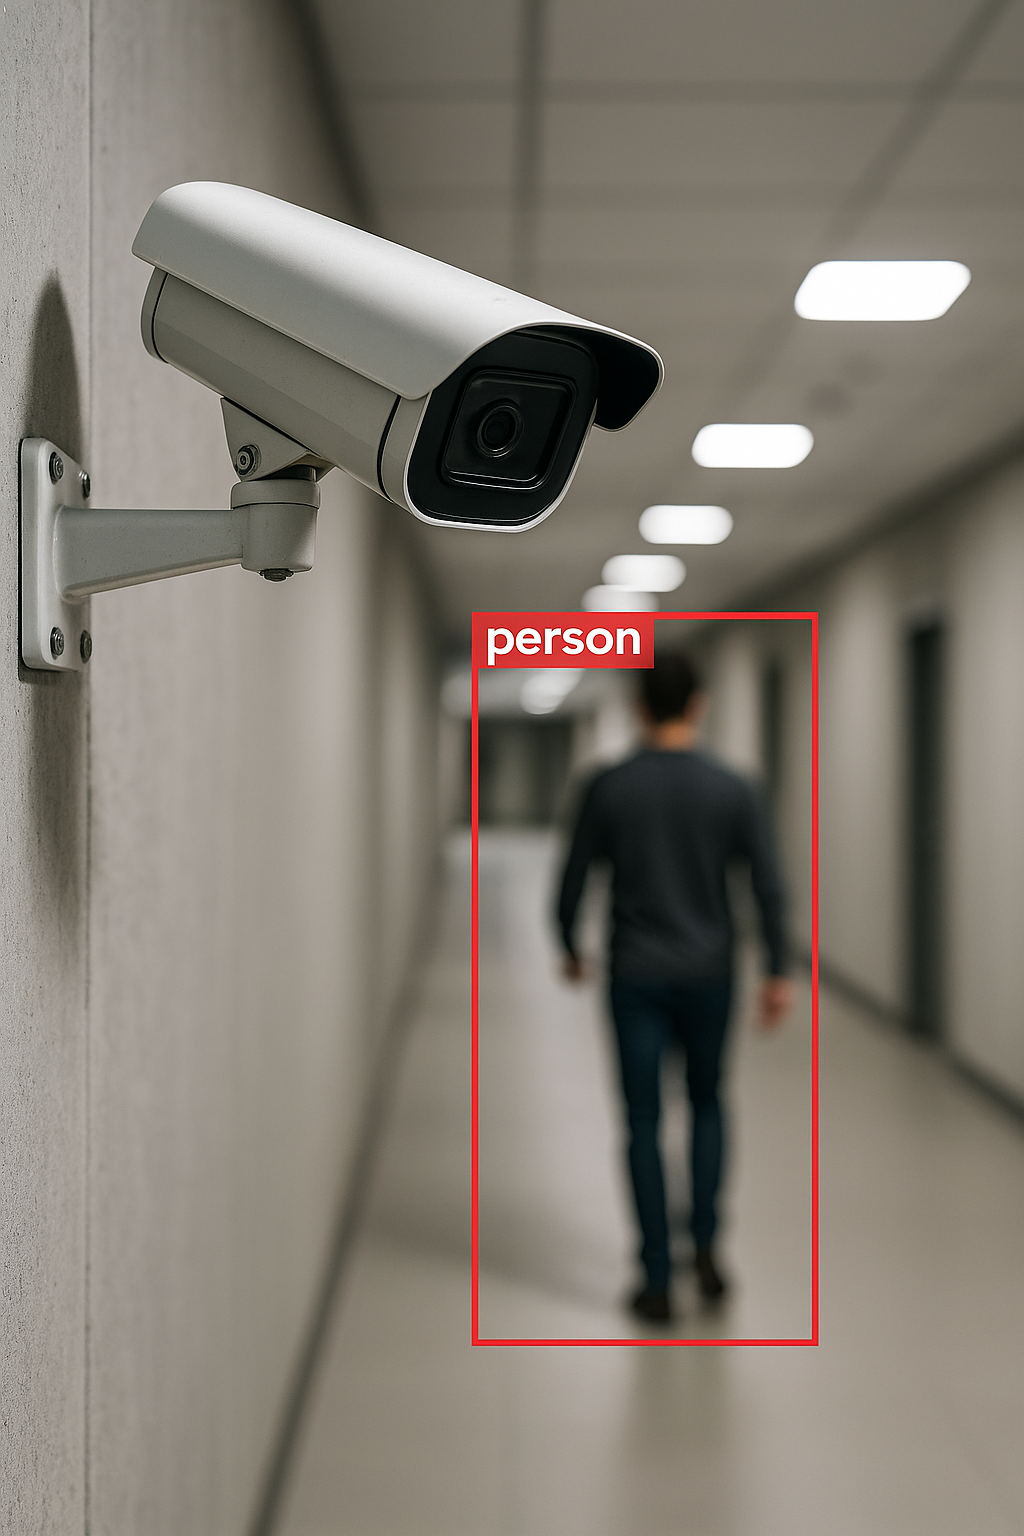
Smart Cameras
Object/person detection local‑ஆ; privacy‑friendly CCTV.
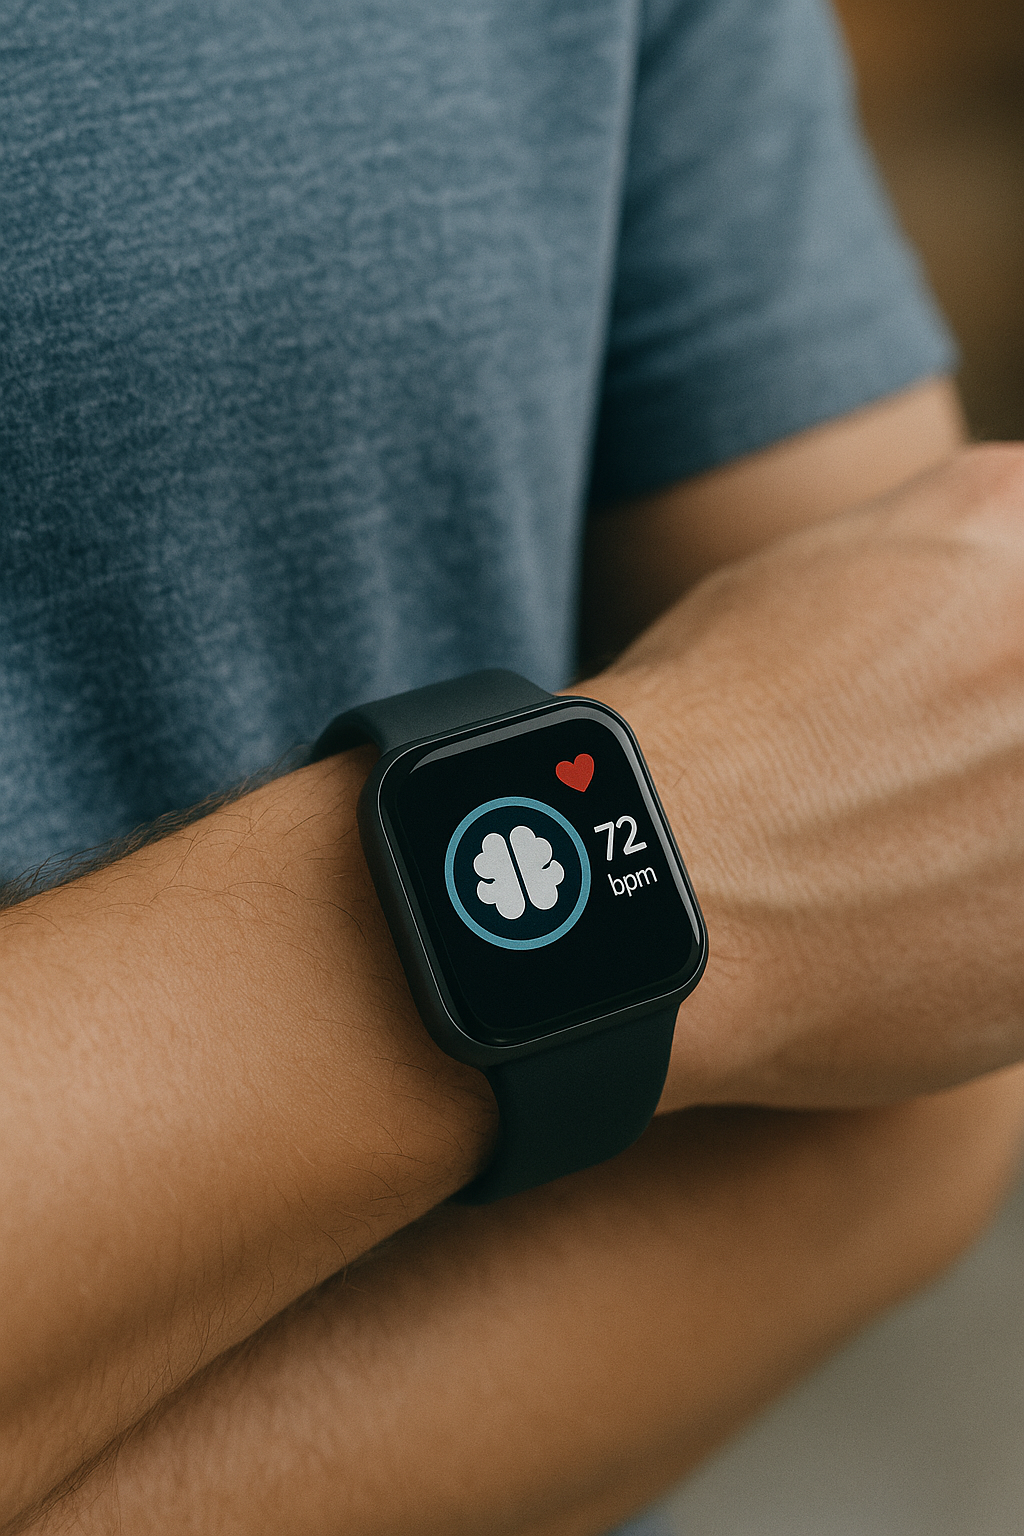
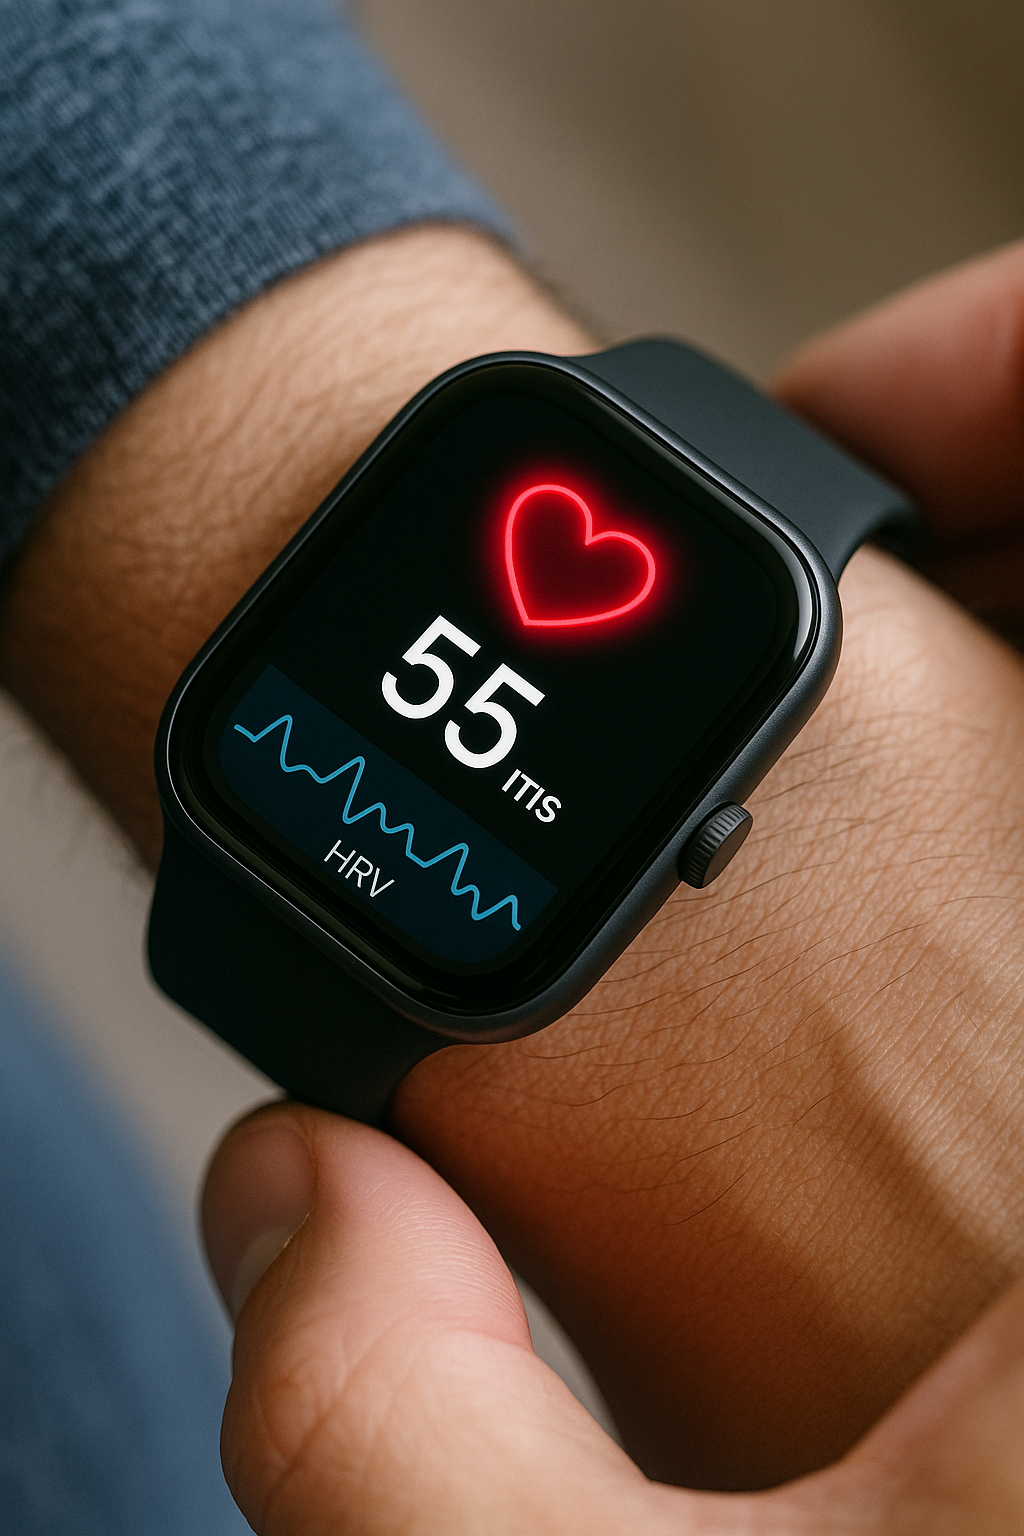
Wearables
Health signals (HRV, gait) on‑device inference.
Edge AI in Action — Gallery
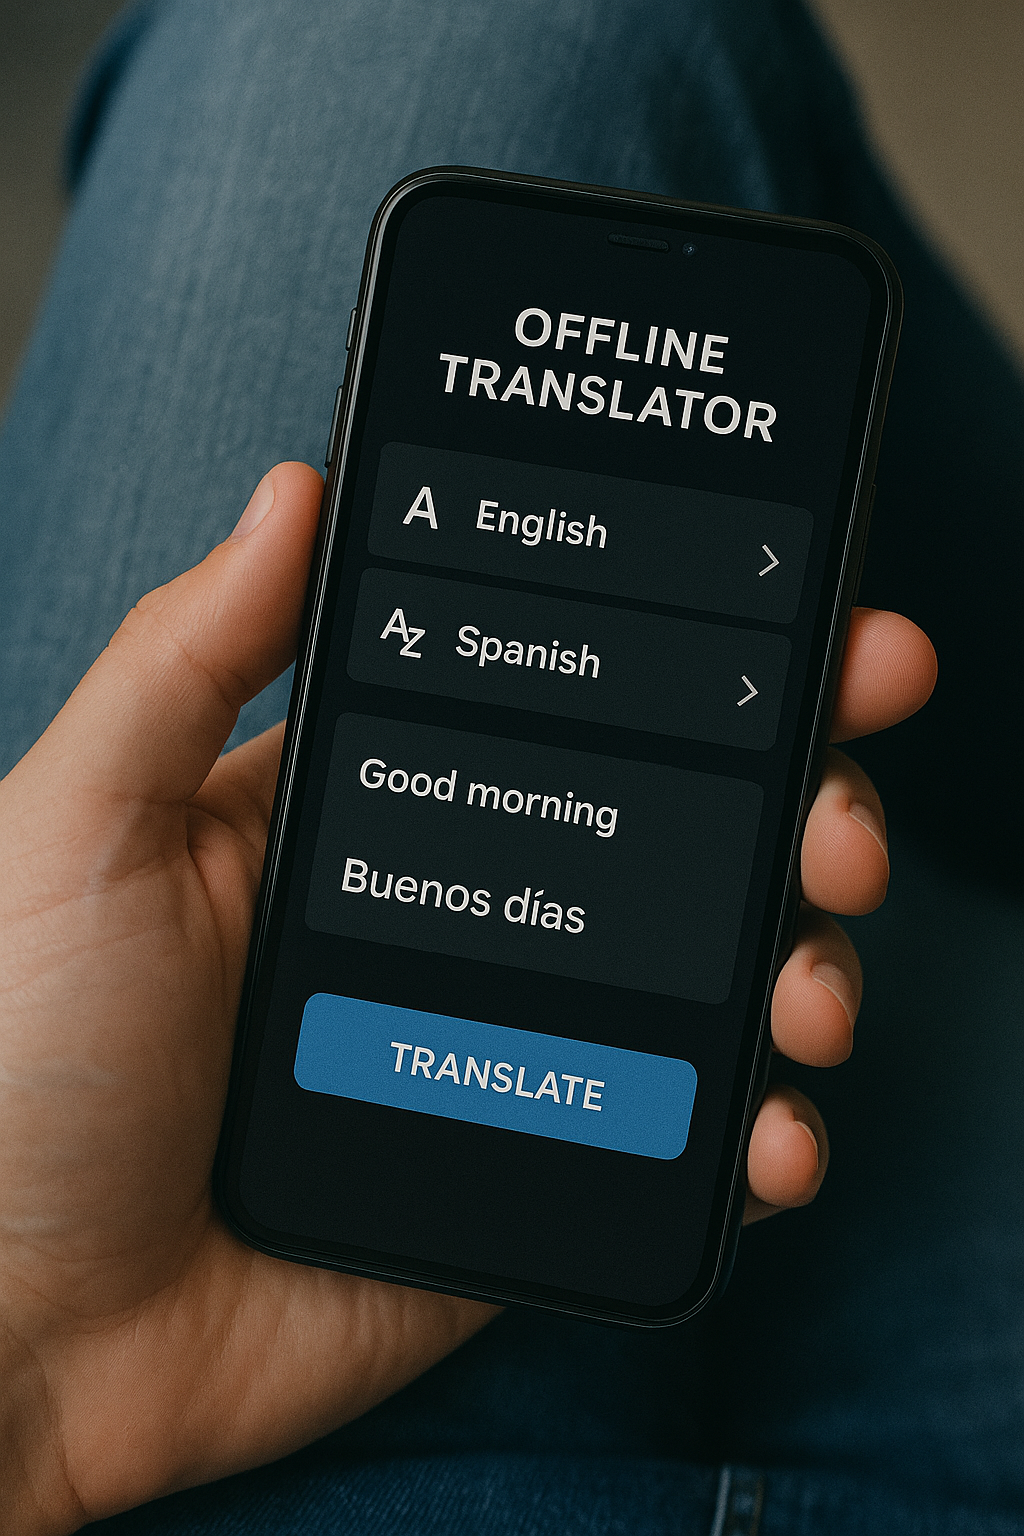
Mobile App Offline Translator
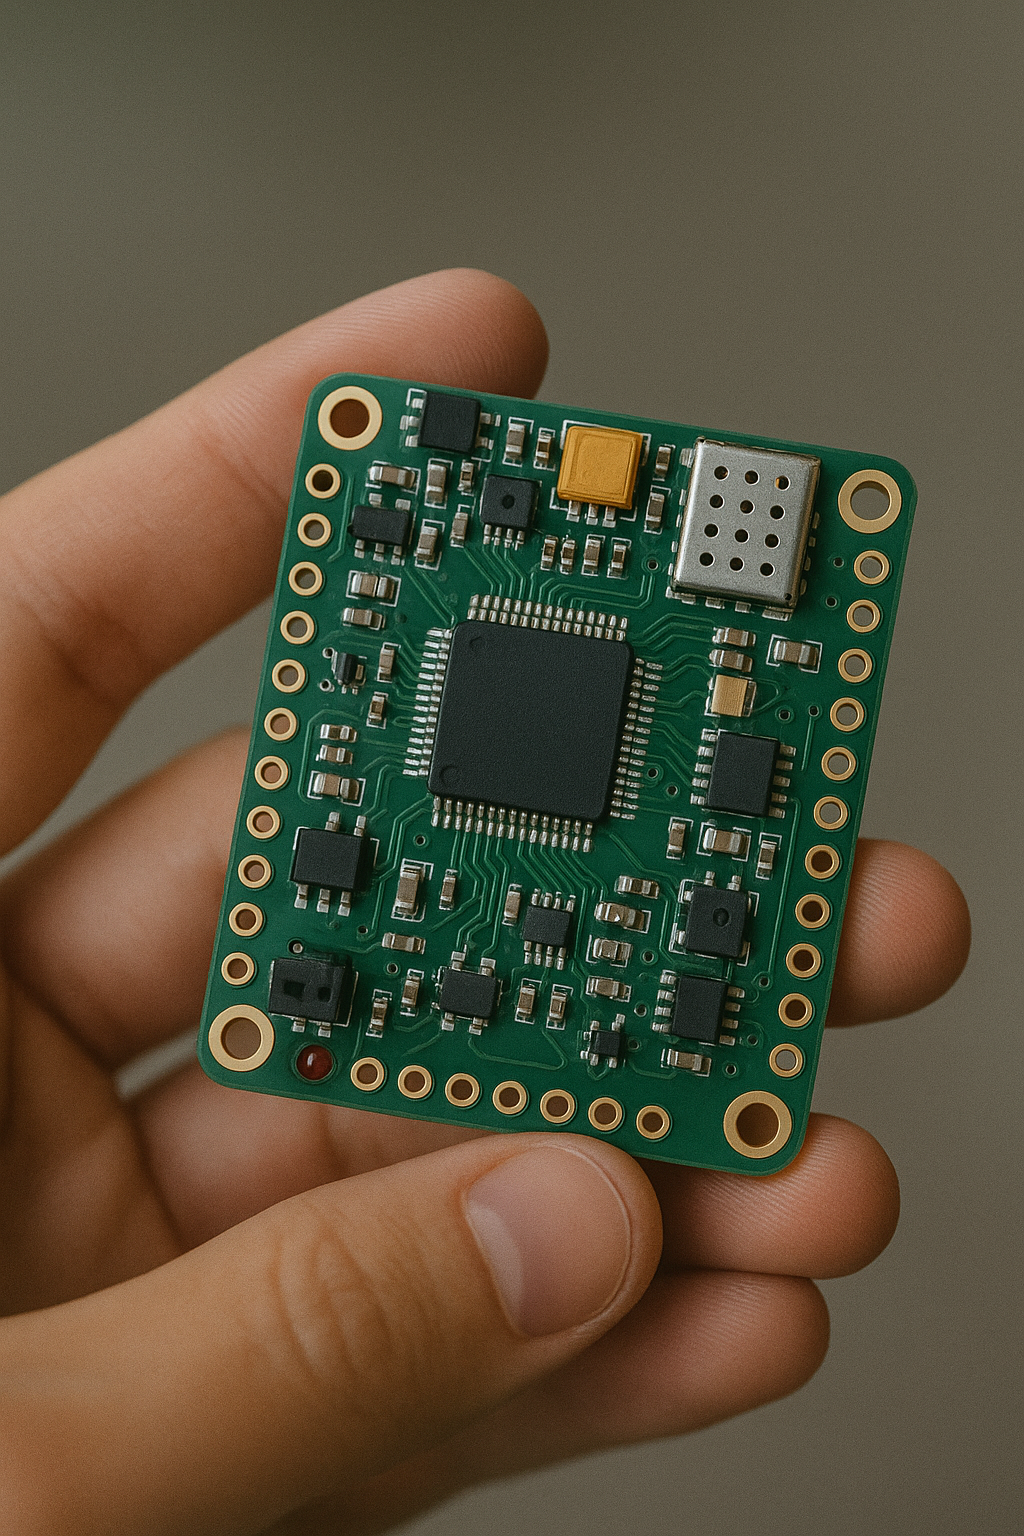
Smart IoT Sensor Board

On-device Camera Detection
AI in Wearables
Frameworks & Tools
TensorFlow Lite (Android)
.tflite models, NNAPI, GPU delegate, XNNPACK.
ONNX Runtime (Linux/Pi)
CPU/ARM accelerators, quantized models, EP plugins.
Core ML (iOS)
Apple Neural Engine, low‑power fast inference.
Android (TensorFlow Lite) — Quick Start
- Gradle: TFLite dependency add பண்ணுங்க
// app/build.gradle.kts (BoM optional)
dependencies {
  implementation("org.tensorflow:tensorflow-lite:2.14.0")
  // Optional delegates:
  implementation("org.tensorflow:tensorflow-lite-gpu:2.14.0")
  implementation("org.tensorflow:tensorflow-lite-select-tf-ops:2.14.0")
}- Model:
app/src/main/assets/model.tfliteவைத்து, label map இருந்தாlabels.txtசேர்க்கவும். - Inference code (Kotlin):
import android.content.Context
import org.tensorflow.lite.Interpreter
import org.tensorflow.lite.support.common.FileUtil
import org.tensorflow.lite.Delegate
import org.tensorflow.lite.gpu.GpuDelegate

class EdgeClassifier(context: Context) {
  private val gpu: Delegate? = try { GpuDelegate() } catch (_: Throwable) { null }
  private val options = Interpreter.Options().apply {
    setNumThreads(Runtime.getRuntime().availableProcessors().coerceAtMost(4))
    gpu?.let { addDelegate(it) }
  }
  private val interpreter: Interpreter = Interpreter(
    FileUtil.loadMappedFile(context, "model.tflite"), options
  )

  // Example: 1x224x224x3 float32 input, 1x1000 output
  fun run(input: Array<Array<Array<FloatArray>>>): FloatArray {
    val output = Array(1) { FloatArray(1000) }
    interpreter.run(input, output)
    return output[0]
  }

  fun close() {
    interpreter.close()
    gpu?.close()
  }
}
Production‑க்கு XNNPACK CPU path by default fast‑ஆ இருக்கும்; GPU delegate சில models‑க்கு மட்டும் மேல்.
Raspberry Pi (ONNX Runtime) — Quick Start
- Install:
python -m venv .venv && source .venv/bin/activate
pip install onnxruntime numpy pillow- Inference script:
import onnxruntime as ort
import numpy as np
from PIL import Image

sess = ort.InferenceSession("model.onnx", providers=["CPUExecutionProvider"])

def preprocess(path):
    img = Image.open(path).convert("RGB").resize((224,224))
    arr = np.asarray(img).astype("float32")/255.0
    arr = np.transpose(arr, (2,0,1))  # CHW
    arr = np.expand_dims(arr, 0)      # NCHW
    return arr

x = preprocess("test.jpg")
outputs = sess.run(None, {"input": x})
probs = outputs[0][0]
top5 = probs.argsort()[-5:][::-1]
print("Top5:", top5, probs[top5])Performance, Quantization & Tips
Quantization Paths
- FP16: 2× memory save, minimal accuracy drop, mobile GPU‑க்கு நல்லது.
- INT8: 3‑4× smaller, CPU‑வில் வேகம் உயரும்; representative data calibration அவசியம்.
General Tips
- Warm‑up runs செய்யுங்க (first‑run latency skip).
- Batch size 1; unnecessary copies தவிர்க்க memory reuse.
- Image preprocessing‑ஐ native/modern APIs வைத்து efficient‑ஆ செய்யுங்க.
Simple Benchmark Snippet (Android)
val start = System.nanoTime()
repeat(30){ edgeClassifier.run(dummyInput) }
val ms = (System.nanoTime() - start) / 1e6
println("Avg per inference: ${ms/30} ms")
FAQ
Edge AI மட்டும் போதுமா, Cloud தேவையில்லைனா?
பல apps‑க்கு hybrid தான் best: UI‑critical paths Edge‑ல், heavy analytics/updates Cloud‑ல்.
Model updates எப்படி push பண்ணலாம்?
Remote config/CDN‑லிருந்து versioned .tflite/.onnx download பண்ணி, checksum verify செய்து local cache‑ல் swap.
Battery impact?
INT8/FP16, burst inference + throttling, background limits வைத்தால் நல்ல battery life.
Next Steps
Prototype → Quantize → Measure → Ship. Sample apps‑லிருந்து தொடங்குங்க, பின்னாடி உங்கள் datasets‑க்கு fine‑tune.